


How to Prepare Your Plants for the Scorching Summer Months

Plant care tips for April and May in Arizona, plus how to grow ripe, luscious tomatoes.
By Noelle Johnson
Hello Friends,
I look forward to springtime in the desert, when plants around my home are covered in vibrant blooms. Pollinators such as bees, butterflies and hummingbirds are busy collecting pollen and nectar—I enjoy watching them while I’m out in the garden or through my office window. Our dry, warm weather is the envy of those who are still enduring the cold in much of the country. For us, it is also a busy season for planting and other tasks, including pruning.
With higher temperatures on their way, getting your garden ready for the coming summer heat is vital. I share my best watering tips to ensure that your trees, shrubs and ground covers are getting the water they need and how to ensure that you are irrigated efficiently. Now is also an ideal time to add summer-loving annual flowers and warm-season vegetables. And if you haven’t added new plants yet, there is still time to install desert-adapted ones, and here, I recommend my favorites.
The spring season can vary in length depending on when the 100-degree heat arrives, so I encourage you to get outdoors and enjoy this wonderful time of year.
Questions? Send them to info@azplantlady.com. They may be featured in a future Garden Solutions.
-Noelle, aka “AZ Plant Lady”
GET YOUR WATERING SYSTEM READY FOR SUMMER

As temperatures rise, so do the water needs in your garden. Proper irrigation is vital to the health and survival of the plants around your home. Now is a great time to ensure your system runs efficiently and is ready for the upcoming summer.
While your irrigation system is turned on, walk around your landscape and make sure that water is dripping out of each emitter. If you cannot locate the emitter due to the size of the plant, lightly scratch the soil with your finger to see if it is moist.
Due to the high mineral content of our water, deposits can build up that plug the emitter’s small holes, causing plant stress or even death. If you see a shrub or ground cover that looks worse than those next to it, it could be due to an emitter issue. During your inspection, note emitter caps that may have popped off, resulting in a stream of water. It is helpful to have new ones on hand to replace those that are no longer working.
You can help prevent mineral buildup within your system by flushing it out, which helps remove deposits and debris. Open the cap located at the end of the main drip irrigation lines and run the water for 2 minutes until the water runs clear. If you can’t locate the end cap, consult your landscape professional on how to flush your system.
Leaks can occur but aren’t always obvious. Check your valve box for signs of moisture or water, which indicate a broken or leaking valve that should be replaced. If your water bill shows a large increase, a leak in your watering system may be to blame.
Many irrigation controllers have a backup battery that saves the watering schedule in the event of a power outage. In the absence of a backup power source, your controller will revert to factory default settings, which may not provide adequate water for your plants. Look up the name and model of your controller to see what type of battery is needed and when it should be replaced.
Turn on your sprinkler system, and make sure that each head is watering the grass only, with no overspray. Make necessary adjustments and replace any that are cracked or have uneven spray patterns.
Adjust your irrigation schedule to meet the increasing water needs of plants as summer heat approaches. It’s important to water deeply to encourage healthy root systems that are more resilient to hot temperatures and require less frequent watering. Here are the recommended watering depths:
- Trees: 2-3 feet
- Shrubs: 18-24 inches
- Ground covers and vines: 18 inches
- Cacti and succulents: 12 inches
- Palms: 2 feet
Use a soil probe or rebar to test your watering depth. Water your plants, and wait one hour before inserting the probe into the moist soil. It should go down as far as the water has penetrated. This will tell you whether you need to adjust how long your irrigation runs each cycle to get to the desired depth. Perform this test on two to three plants of each type to get an overall idea of how deeply you are watering.
Plants don’t need the same frequency of water throughout the year, and you should adjust the schedule on your irrigation controller seasonally. Visit wateruseitwisely.com for seasonal watering schedules for specific plant types.
Tomato-Growing Tips for Spring and Early Summer
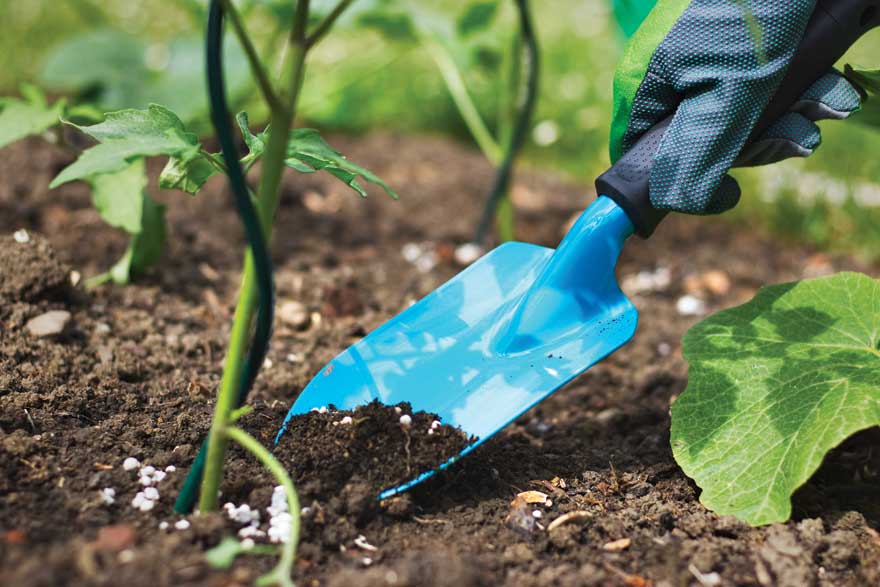
If you have ever tasted a tomato straight from the garden, you know that the flavor and texture are far superior to those from the grocery store. In spring, these plants are starting to flower and produce fruit. Here is what you need to know to keep them healthy and maximize the harvest:
- Tomatoes need at least six hours of sun per day, but the intense sun of summer can be too strong for them to tolerate. Beginning in June, cover plants with 50% shade cloth.
- Feed tomatoes monthly using an organic vegetable fertilizer to satisfy their need for nutrient-rich soil.
- Water to a 12-inch depth and wait until the top 2 inches of soil is barely moist before watering again. Both over- and under-watering can cause problems with discolored foliage and cracked tomato fruit.
- Mulch around each plant using compost or straw, which helps cool summer soil temperatures.
- Keep an eye out for light green tomato hornworm caterpillars that blend in with the foliage. Remove them as needed.
- Once temperatures hit 90 degrees, flowering will cease, but the existing fruit will continue to ripen into early summer. At the beginning of fall, remove the shade cloth, and your tomato plant will begin to produce again.
MONTHLY GARDEN TASKS
Low to Mid Elevations
Finish adding plants by mid-April to give them time to adjust to their new surroundings before the heat of summer arrives. Native and desert-adapted plants can be installed through May. Dig holes twice as wide as the root ball to make it easier for new root growth, which is vital for the survival of new plants. Add a 2-inch layer of organic mulch, such as bark chips, to preserve moisture and lower soil temperatures, rather than landscape rock, which absorbs and reflects heat onto young plants, which are particularly susceptible to heat damage.
Add heat-loving summer annuals from nursery transplants such as celosia, gaillardia and periwinkle. Sunflowers and zinnias are easy to grow from seed and thrive in hot conditions. The key to success for growing plants in pots is to use larger containers—approximately 20 inches tall and wide—that help to insulate roots from hot temperatures.
Replenish the top 6 inches of soil with a planting mix formulated for flowering plants in containers, and feed with an organic fertilizer for flowering plants. Allow wildflowers to dry up before pulling them out. Once their foliage is no longer green, cut them back to the ground using a string trimmer or lawn mower. This will also help to dislodge any remaining seeds, ensuring that they will come back the following year. Birds will also enjoy eating the seeds from the dried wildflowers.
It’s time to plant your warm-season edible gardens. Sow the seeds for cantaloupe, okra, snap beans, summer squash and watermelon. Experience the different varieties of basil, which are easy to grow from seed or transplant. Sweet basil is the most common variety, but other varieties include cinnamon, lemon, purple and Thai. Add lemon grass, oregano, sage and thyme for more herbal goodness in the garden.
High Elevations
In late April and May, transplant broccoli, Brussels sprouts, cauliflower and kale. Carrots, radishes, and leaf lettuces can be started from seed. Add pansies, petunias and snapdragons for a welcome splash of color. Sow seeds for cosmos, gaillardia, gomphrena and marigolds. Beware of any late freezing temperatures and protect frost-tender plants as needed.
I have several agaves growing in my landscape, and some have produced babies. Can I replant them around my garden? If so, what is the best time to do so, and how do I remove the small agave from the larger one?
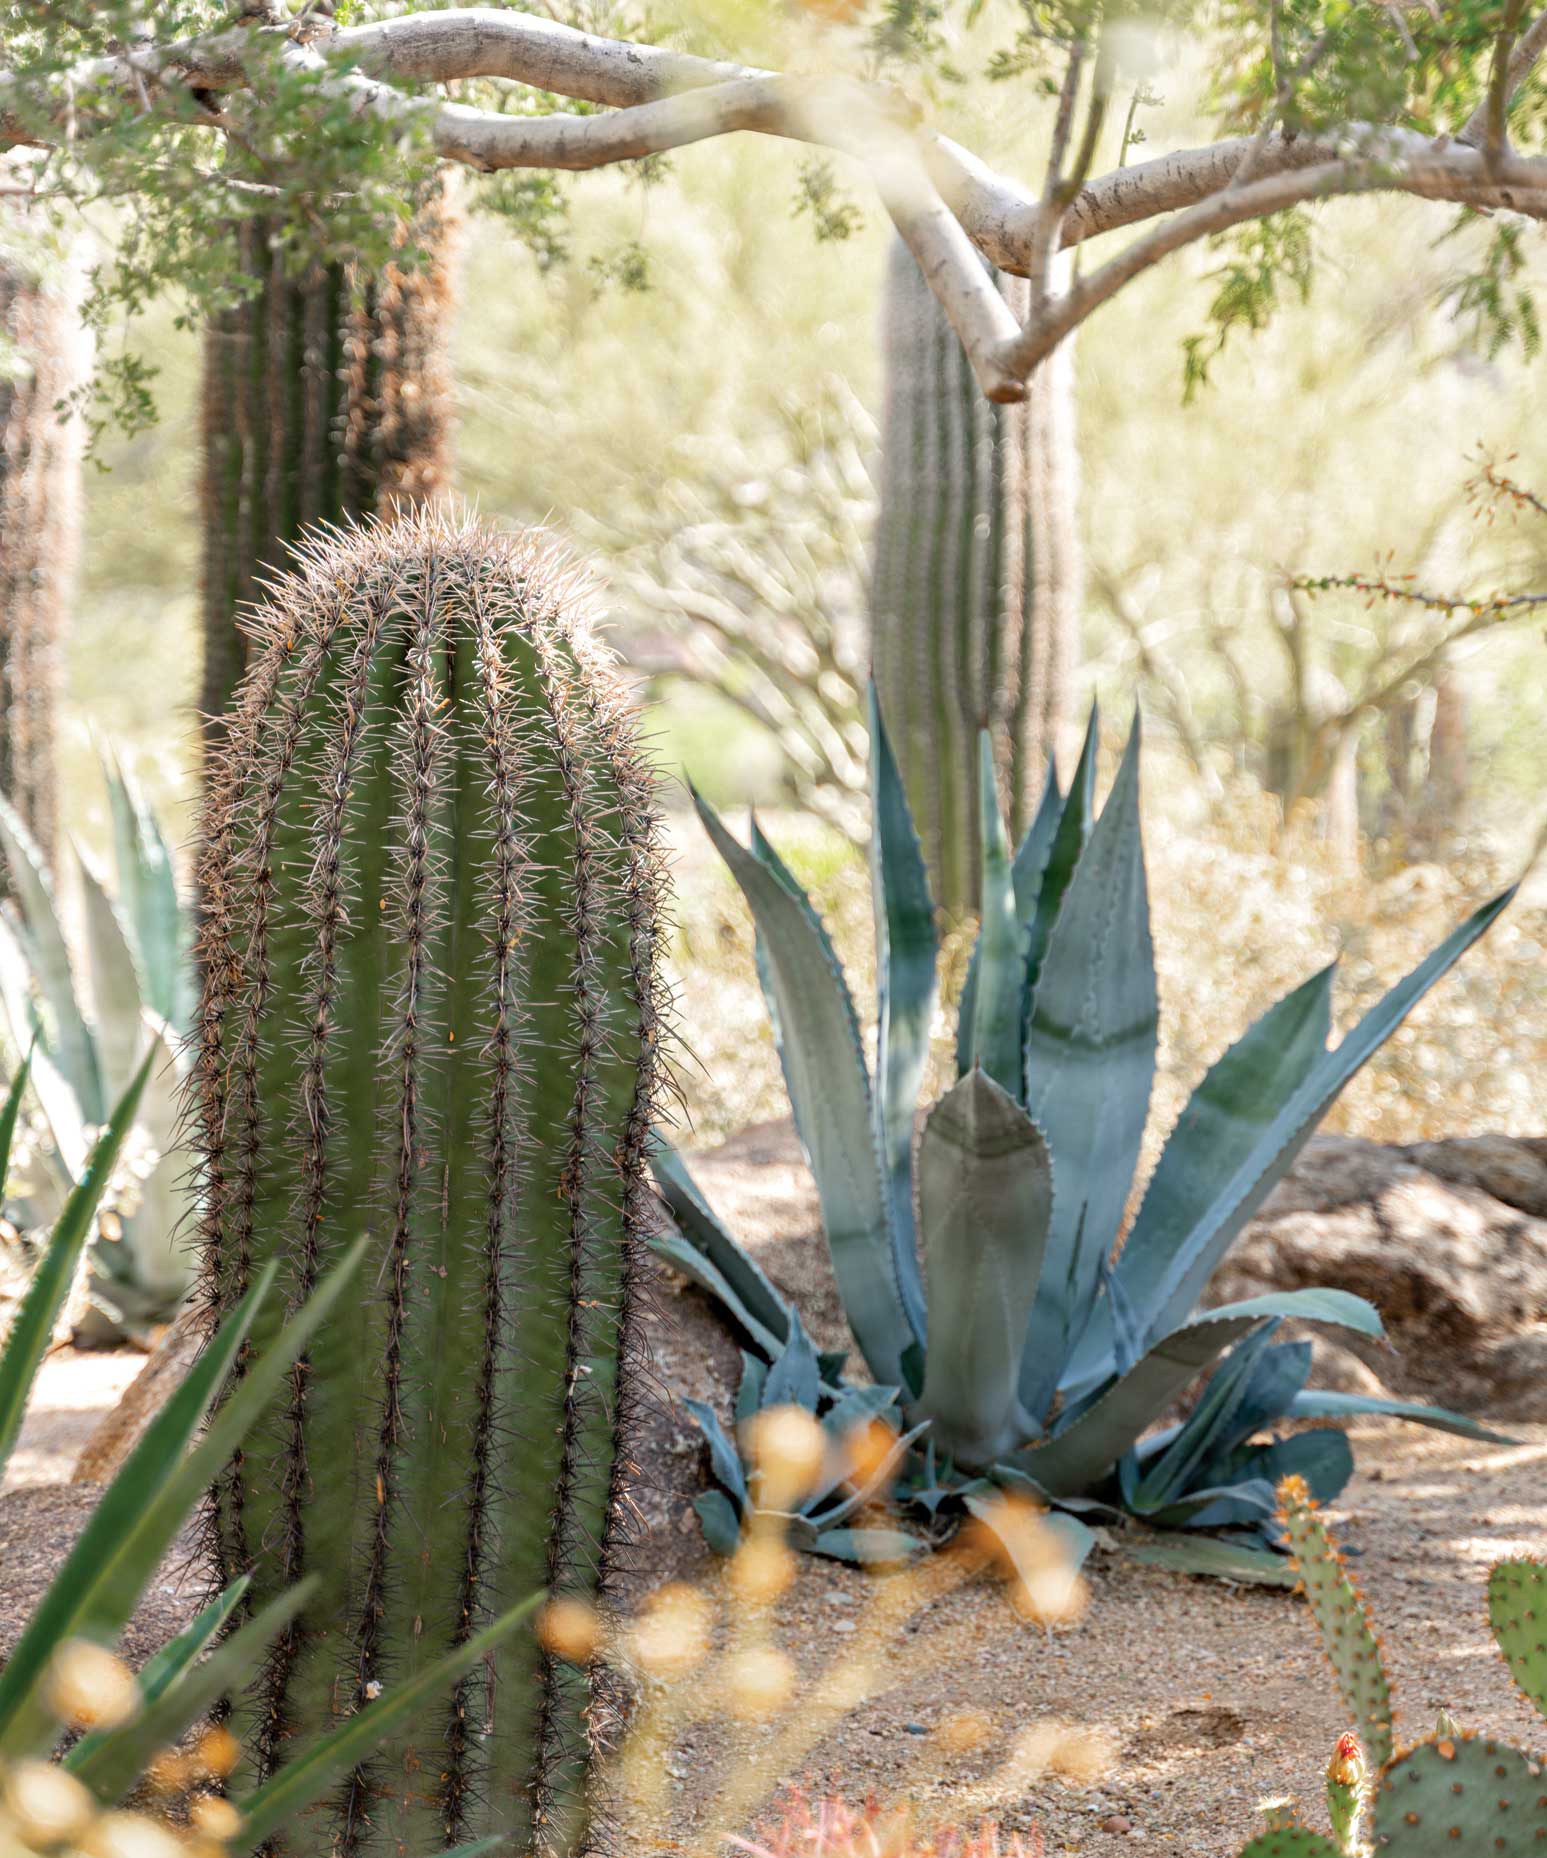
Many species of agave reproduce by growing offsets, also called ‘pups’ or ‘volunteers,’ which are attached to the parent plant by a thick, fleshy root. Think of them as free plants that you can place in your landscape, and spring is the best time to do so. A sharp shovel is most effective for separating the pup and cutting the root before moving it to its new location. Water weekly to help it to form new roots through the first summer and then less frequently. Be intentional with how many you add, as the offsets will also produce babies as they grow—which can become a tiresome maintenance task.
Every spring, I find little green fruit on the ground around my orange tree. Is something wrong with my tree, or is there a reason it can’t hold onto all the fruit?
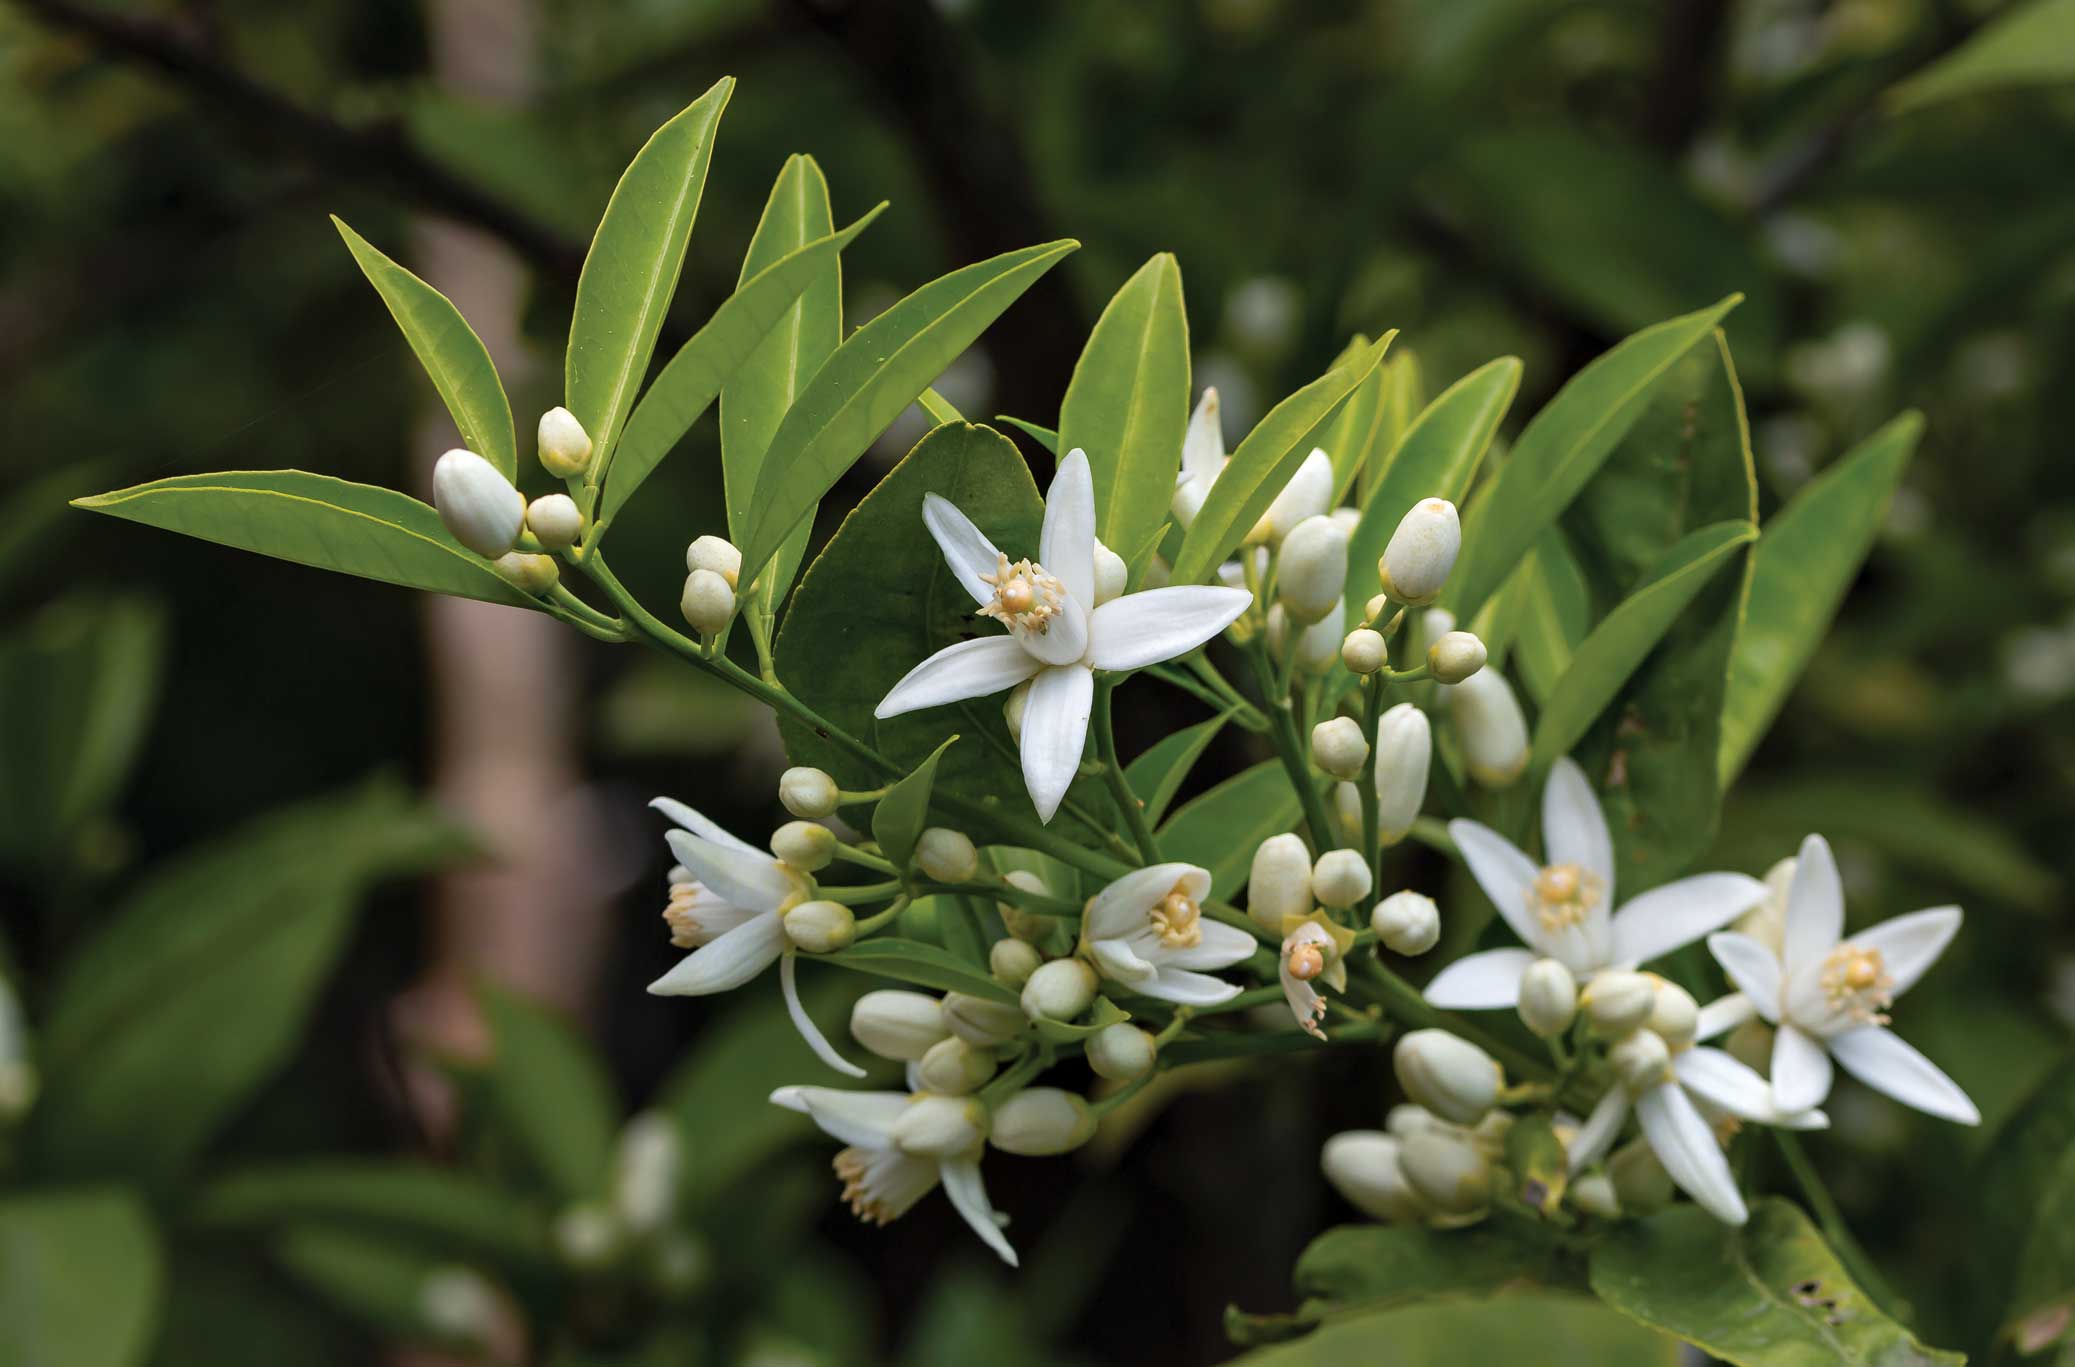
What you describe is known as ‘citrus drop’ and is a normal occurrence. In late winter, citrus trees produce hundreds of blooms to maximize the chance of them being pollinated by bees, which results in tiny, non-ripe, green fruit. However, the trees don’t have the resources to grow them all into ripe grapefruit, limes, oranges, lemons, etc. So in mid-spring, the tree drops the excess and only keeps the fruit that it can grow. Young citrus trees are likely to release the most fruit, while more mature trees hold onto more.
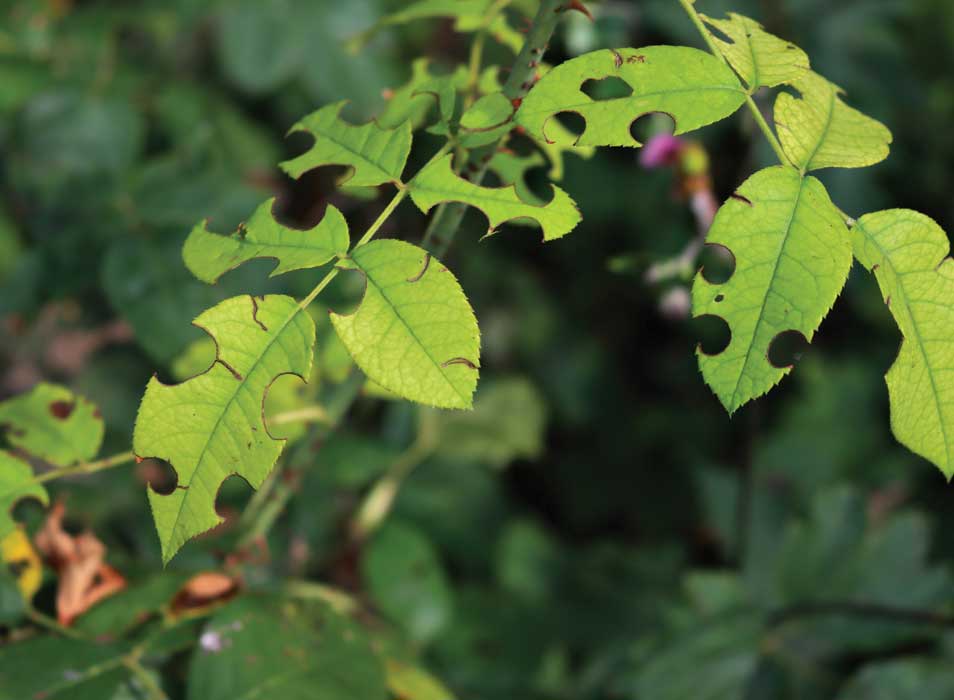
Something is eating the foliage of my bougainvillea and roses. There are small half-circles cutouts on many of the leaves. What insect is causing this, and how do I prevent it from happening?
The good news is that there isn’t a bug eating your plants. What you are seeing is evidence of leafcutter bees. The female lines her nest with small pieces she cuts from the foliage and lays a single egg within it. They are solitary, native pollinators and are most active in spring. Pesticides aren’t recommended or effective since the bees don’t eat the foliage. The next time you see the telltale semi-circle cutouts on your plants, know that you have a welcome pollinator in your garden